
I have tons of bibs from my 1st little man but most of the closures gave out before the bib gave out. Velcro- it looses its sticky, gets on everything, and can put unwanted snags on other fabrics. So I am not a huge fan of velcro on baby items but you could definitely add velcro if you wanted, I just prefer snaps. Snaps - fast, easy, and no snags. :)
 |
Snap gun from Hancocks and a snap kit from Walmart. I used the snap gun but either would work just fine. If you are going to be putting snaps on a lot of items I would recommend the snap gun. It can also add eyelets and decorative snaps.
|
So I wanted to make a bib that was absorbent and had snaps. So I found a pack of 10 colorful wash cloths at Walmart that were $2. Wash cloths are cheap and absorbent so that made a perfect base for my bib.
To get the basic shape, I found a bib that I loved and traced it onto my fabric. I added some width around my pattern to make up for seam allowance. Then I pinned my fabric to my wash cloth and cut it out. There are several ways to finish off the bib. I am not going to explain all the different options right now but I promise a post in the future that will show a different way to close it up and finish it off with bias tape. But for this project I went plain and simple. {This bib could be reversible and if you had one or wanted to pay for it you could have a name embroidered before you sew it together.}
 |
| Front |
 |
| Back |
Pin the right sides of your fabric together. (it doesn't matter with the wash cloth it has no right side) Mark at least a 1 inch section to leave open so you can turn your bib right side out. Then serge the edges together or use a zig zag stitch. Make sure if you serge you go very easy around the curved tabs. Carefully pull/push the bib through your opening to turn the right side out. You may want to use a pencil or tip of your scissors to push the corners out of the tabs, but be careful!! Then tuck your raw ends into the bib and make small stitches to hide the opening. And now your bib is finished! You might want to go around the bib with a top stitch but you don't have to, completely up to you. Easy Peasy and you have an adorable cheap bib!

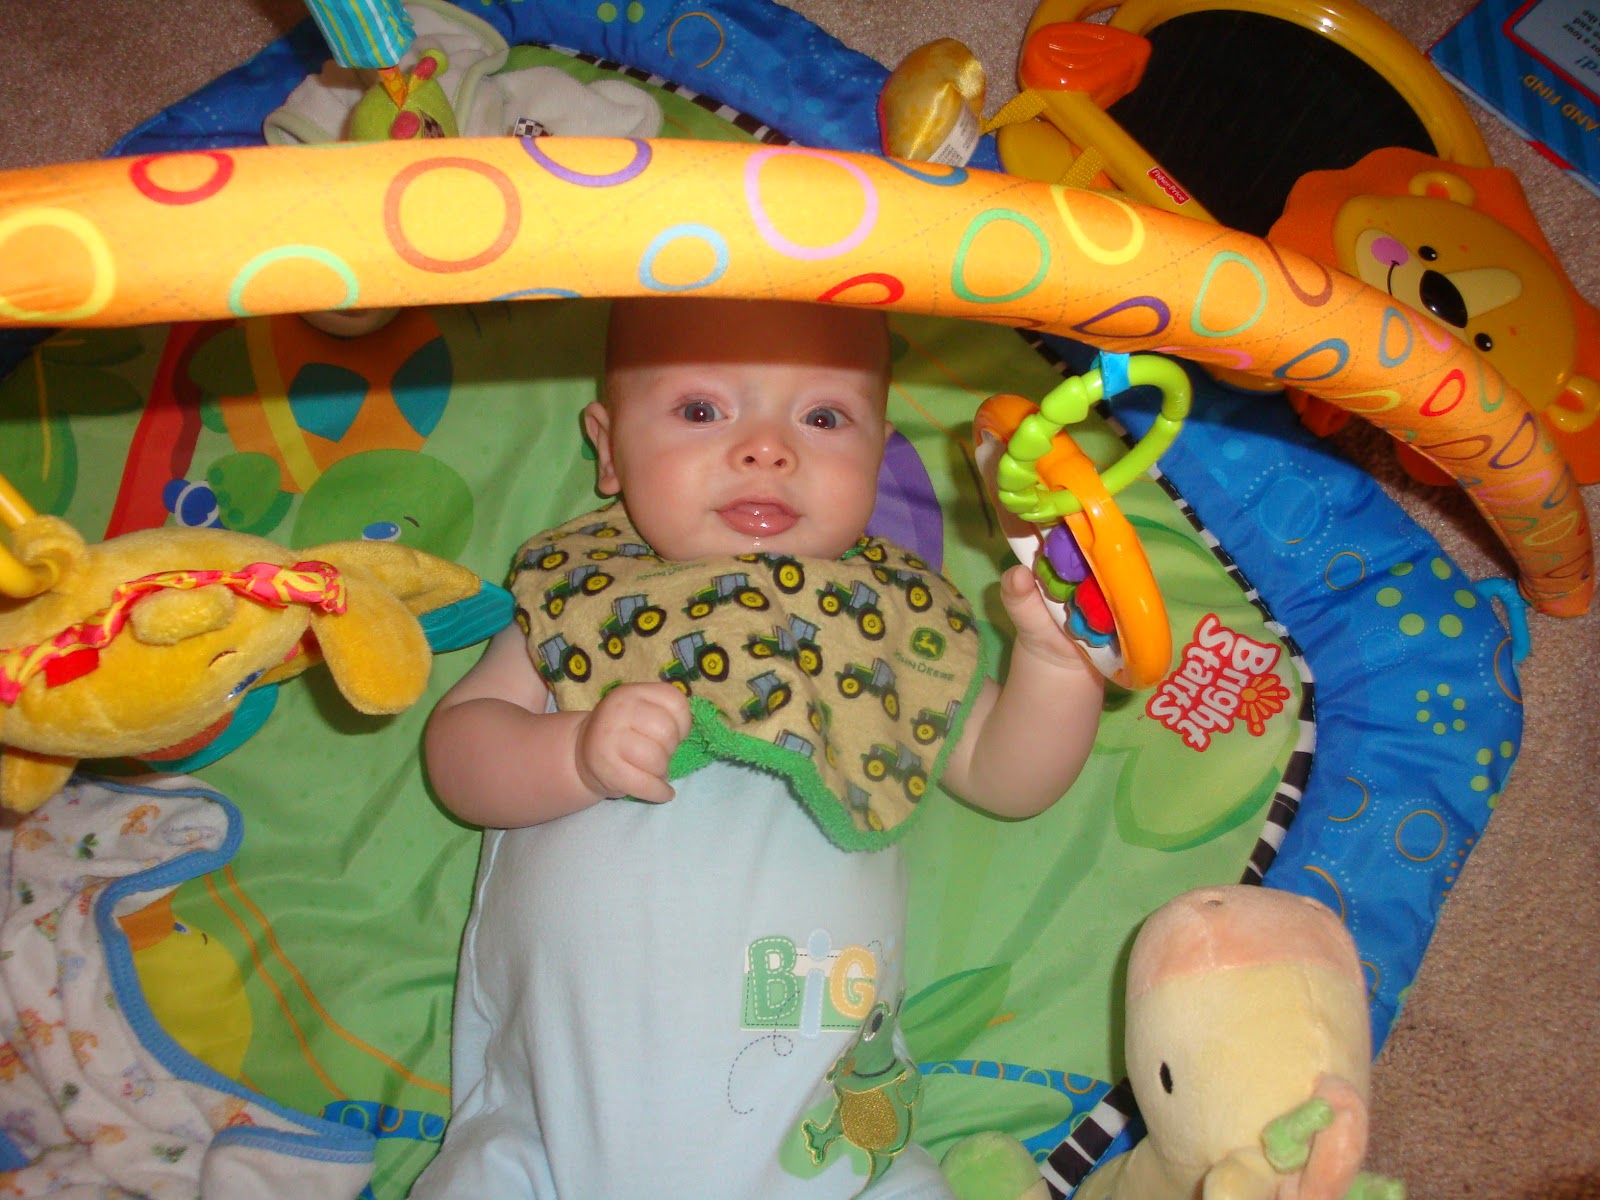
So cute, but the little man is even cuter!!! I saw your feature, your blog is wonderful!!! You are inspiring me to get motivated on mine...maybe in a week and a half ;) Anyways, cute post!! :)
ReplyDeleteGreat job!
ReplyDeleteI was making baby gift sets today and there are bibs, but mine are just rag-edge flannel.