Showing posts with label sewing. Show all posts

Wednesday, October 10, 2012

I'm in Business


photo from Paparazzi Website
 
While I was away for 2 months,  I started my own business.  I am now the proud owner of "Polka Dots and Pincushions."  It started as a little crafting business with my cousin and has grown in the past few months to include jewelry and another cousin. 

I had been crafting and sewing for local friends for about 2 years but with two small children and very limited space the time for sewing became limited.  I then stumbled upon Paparazzi Jewelry and now I am  Independent Consultant  #7657.  (Haven't heard of it or interested in finding out more let me know I would be happy to talk with you.)

I have a Face book page where you can view all of my items and I am hoping to have a web page in the future.  I am having a great time selling cute $5 jewelry and accessories.  I love that I don't have to be pushy or bring a financial burden on anyone.  I always dreaded  getting invites to parties for Thirty One, Scentsy, etc  because I can not afford that stuff.  I think they are great companies with super cute items but being a stay at home mom means well, sometimes,  staying at home.  If I want to be able to afford to be home with my kiddos then I can not afford to spend money on $40 bags and $20 candles.  So when I heard about Paparazzi and found out that it was only $5, I had to find out more. 


Now I am booking parties, selling at events, and selling online.  I love it and I don't have to feel bad because 1- I don't have to be pushy, if you like it great if you don't that is ok too and 2-it is affordable so it is not like I am asking them to spend a fortune.  It is win win! 

I will tell you more about my Paparazzi experience in my another post but for now I wanted to share some pics of a few of the items on my page.  If you have any questions please feel free to ask or email me.  And if you are interested in anything please check out my face book page Polka Dots and Pincushions and order from there. 
Thanks
Andrea
Independent Consultant 7657
 
Here are a few pictures of some of the jewelry.  I also have rings, bracelets, and hair accessories.


Here are a few of my hand made items.


Thursday, June 14, 2012

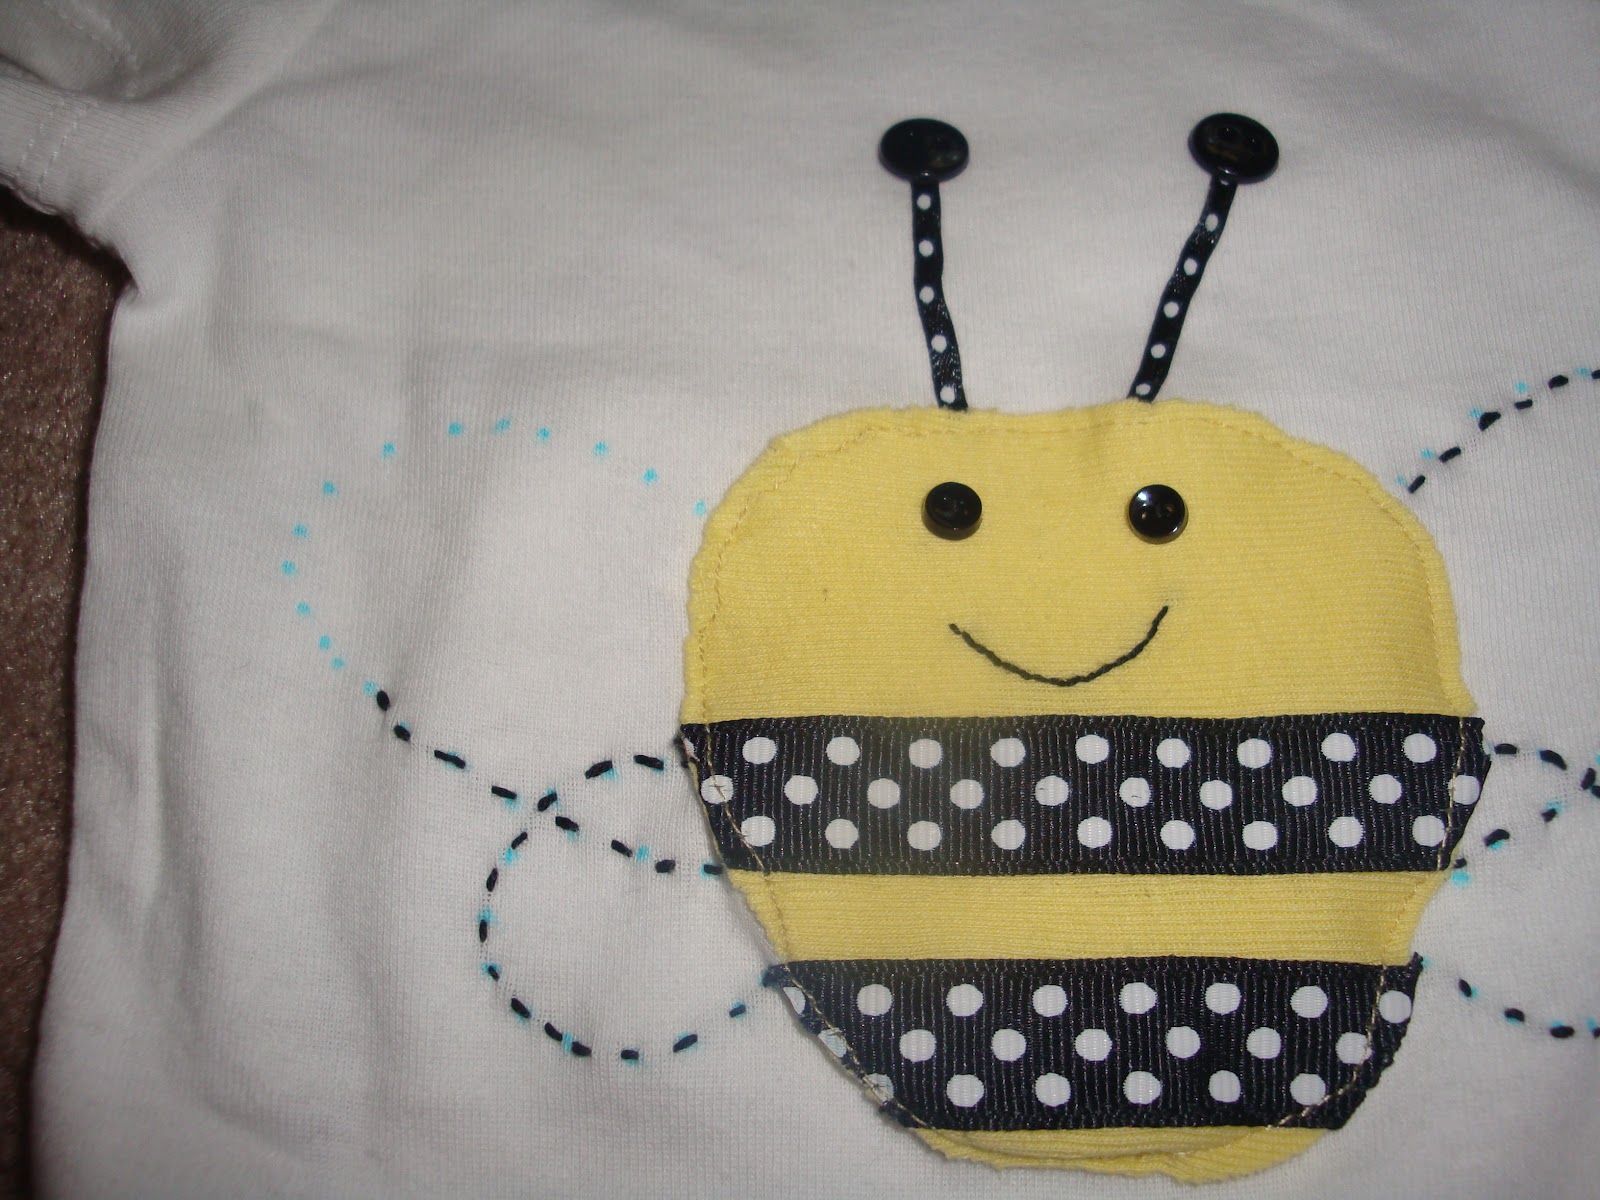
Bumble bee onesie

I saw the cutest little onesie at the store a few months ago.  It had a bee on it and was just adorable but it cost around $20.  Way too much for a onesie, especially when I figure I can make my own for much cheaper.  I have not been blessed with little girls yet so this is for a friend (and hopefully she will not check my blog before I have time to give it to her) and maybe in a year or two we will be able to swap out clothing so I can put bows in a baby's hair and she can dress up a little man.  :)


sorry I don't know how to make the pictures rotate if someone does please inform me but cute huh?

See isn't that adorable.   Want to make your own?  Ok all you need is a plain onesie (it doesn't have to be white I think most any color would work), some yellow material (mine was an old scrap t-shirt), white material (again mine was a scrap t-shirt), tiny black buttons, small black buttons, 3/4 in black ribbon, 1/4 in black ribbon, sewing machine, gray/black embroidery thread  (Again with almost all my projects this is just what I used.  Play around with sizes and material.  I bet a bee would be cute with big buttons for eyes too.)

1st thing is to decide how big you want your bee to be.  Cut out the basic body shape, by folding your material in half so that it will be symmetrical.  Then lay out your material on your shirt to make your bee and see where you want everything and how you want to space it.  I used an erasable ink marker to put dots where I wanted the eyes, mouth, etc.  You also need to cut your ribbon to length and the right shape.  Lay your ribbon on the bee body and trim it just a bit larger than needed.  Then heat seal the edges with a lighter. 


Now sew on your eyes by hand and stitch your mouth on.  Look it is cute already.  ;)  Next are your stripes.  You can hand sew them on, use stitch witchery, your machine, etc.  My material is really small and thin so I decided to hand stitch them on.  It was a little more time consuming but I am happy with the result.


Now that you have your bee all put together pin it to your onesie and stitch it on with your sewing machine.  (you could sew it on by hand if you don't have a sewing machine) My machine wanted to fight with me for some reason but we made it around finally.  After the body is attached you will want to hand stitch the antenna down and add the buttons. 

You could stop here but I felt my bee needed wings.  I used my erasable ink to make the design of my wings and then just hand stitched them on using embroidery thread. 

I wasn't completely satisfied with my onesie and wanted to add some cuteness to the back.  I was going to make some ruffles across the bum but then decided that a bee needed flowers.  I made some super simple flowers out of the same yellow and put a little white in for contrast.  I just traced 3 different sized circles on my fabric, cut them out, and added a button in the middle.  Pretty cute huh? 

The bee went together fairly easy because all my fabric was knit and would not ravel so I did not have to work about frayed edges. 
You could do the same thing but use a more "manly" :) animal for a boy. 

Monday, June 4, 2012

John Deere Baby set - Lovey Blanket

Well today is part 3 of my baby set.  If you missed the burp cloth and the bib you can find them here and here.  OK so now on to the lovey blanket.  Like with the other two there are several different ways to make these.  I am only going to share one way today but if you have any questions feel free to ask.  Because I will apologize ahead of time that I did not take step by step pictures.

For my blanket I used flannel material because it is just softer.   So supplies you will need- 1/4 yard of two different materials (for your front), 1/2 yard of backing material, several different colors and textures of ribbon, a square (or object you can use of a square), and a sewing machine.

my square ;)
I made my lovey in a patchwork fashion, kinda like a quilt but with out the padding.  If you wanted the extra time you could definitely go back and add stuffing and quilt around the edges but I was fast and lazy.  :)  I only used two different colors of material for this blanket, the John Deere print and then a plain yellow for contrast and the backing.  You start by tracing out 9 squares.  I do not have a technical square so I use the top of a cd case.  :) Ok no laughing it works and it did not cost me a thing I just stole the top off of one of my cds.  Again you could make this blanket so many different ways.  You could make it bigger by adding more squares, or you could have several different patterns going on, or make it completely solid, etc.  I have made mine in a variety of patterns and styles, so this is only one way, feel free to experiment. 

Anyway to make this blanket, trace and cut out 5 squares from your 1st fabric and 4 squares from your second fabric.  Then you will need to serge/sew your squares together in rows of 3.  After you have your rows, sew them together to form your front.  Then lay your front layer on your backing fabric and trace out a large square to match it's size.  Again so sorry I do not have pictures but feel free to ask if you are confused.  I would add a drawing but that is something I have not learned how to do just yet, still super new to blogging.  I went back and took some pictures of a different blanket just for you!  Don't you feel loved now. :)
sewing squares together

cut out squares of fabric

Your 3 separate rows                                 2 rows sewed together


all sewn together


Now that you have both of your pieces, you need to decide how many ribbons you want on your blanket and how long you want each piece.  I chose 4 different colors with all the same texture but different widths.  Cut your ribbon to the length that you want and lay them out on your top piece to decide what kind of pattern you want.  Once you have decided on how you want it to look, you will want to pin your ribbon the the right side of the front piece.  I know that sounds funny but you will sew it tucked in so that when you turn your blanket the right side out your ribbon will be attached neatly on the inside.  So pin your ribbon so a little hangs over the edge of your material and the rest of the ribbon lays on your front piece.
(Here is a pic of another blanket I will show later)
I hope you can tell the ribbons have been pinned up with a little bit of over hang to catch when you sew.


Then pin your backing piece right side down on the ribbon to your front.  (I feel like this sounds confusing)  Make sure you leave a 1 inch opening so that you can turn it inside out.  I like to put several little pins where I am not going to sew to remind myself to stop.  Cause once I get going well sometimes I just keep going.  ;)   Now you can serge it closed or sew it on a regular machine.  I have done both but since I have a serger now I just love it!

After it is sewn together, push/pull your blanket right side out.  Tuck your extra fabric in your opening and then you can top stitch it closed or hand stitch it.  Most people think top stitching all the way around is more professional looking but again it is your choice.

Well this is probably one of my longest posts but I felt it was a tad confusing.  Please come back later this week I have a chair redo that I am just so tickled with!  Have a great day!
Linking to some of these great parties:

Tuesday, May 29, 2012

John Deere Baby set - Snap bib

Hi!  So glad you came back ;)  Ok so yesterday (ok not yesterday, it has been awhile sorry) I showed you my John Deere Baby set and a tute for the burp cloth.  Remember? If not you can revisit it here.  Ok now to the bib. 


I have tons of bibs from my 1st little man but most of the closures gave out before the bib gave out.  Velcro- it looses its sticky, gets on everything, and can put unwanted snags on other fabrics.  So I am not a huge fan of velcro on baby items but you could definitely add velcro if you wanted, I just prefer snaps.  Snaps - fast, easy, and no snags.  :) 
Snap gun from Hancocks and a snap kit from Walmart.  I used the snap gun but either would work just fine.  If you are going to be putting snaps on a lot of items I would recommend the snap gun.  It can also add eyelets and decorative snaps.

So I wanted to make a bib that was absorbent and had snaps.  So I found a pack of 10 colorful wash cloths at Walmart that were $2.  Wash cloths are cheap and absorbent so that made a perfect base for my bib.

To get the basic shape, I found a bib that I loved and traced it onto my fabric.  I added some width around my pattern to make up for  seam allowance.  Then I pinned my fabric to my wash cloth and cut it out.  There are several ways to finish off the bib.  I am not going to explain all the different options right now but I promise a post in the future that will show a different way to close it up and finish it off with bias tape.  But for this project I went plain and simple.  {This bib could be reversible and if you had one or wanted to pay for it you could have a name embroidered before you sew it together.}

Front
Back


Pin the right sides of your fabric together. (it doesn't matter with the wash cloth it has no right side) Mark at least a 1 inch section to leave open so you can turn your bib right side out.  Then serge the edges together or use a zig zag stitch.  Make sure if you serge you go very easy around the curved tabs.   Carefully pull/push the bib through your opening to turn the right side out.  You may want to use a pencil or tip of your scissors to push the corners out of the tabs, but be careful!!  Then tuck your raw ends into the bib and make small stitches to hide the opening.  And now your bib is finished!  You might want to go around the bib with a top stitch but you don't have to, completely up to you.  Easy Peasy and you have an adorable cheap bib!


Tuesday, May 22, 2012

John Deere Baby Set- burp cloth

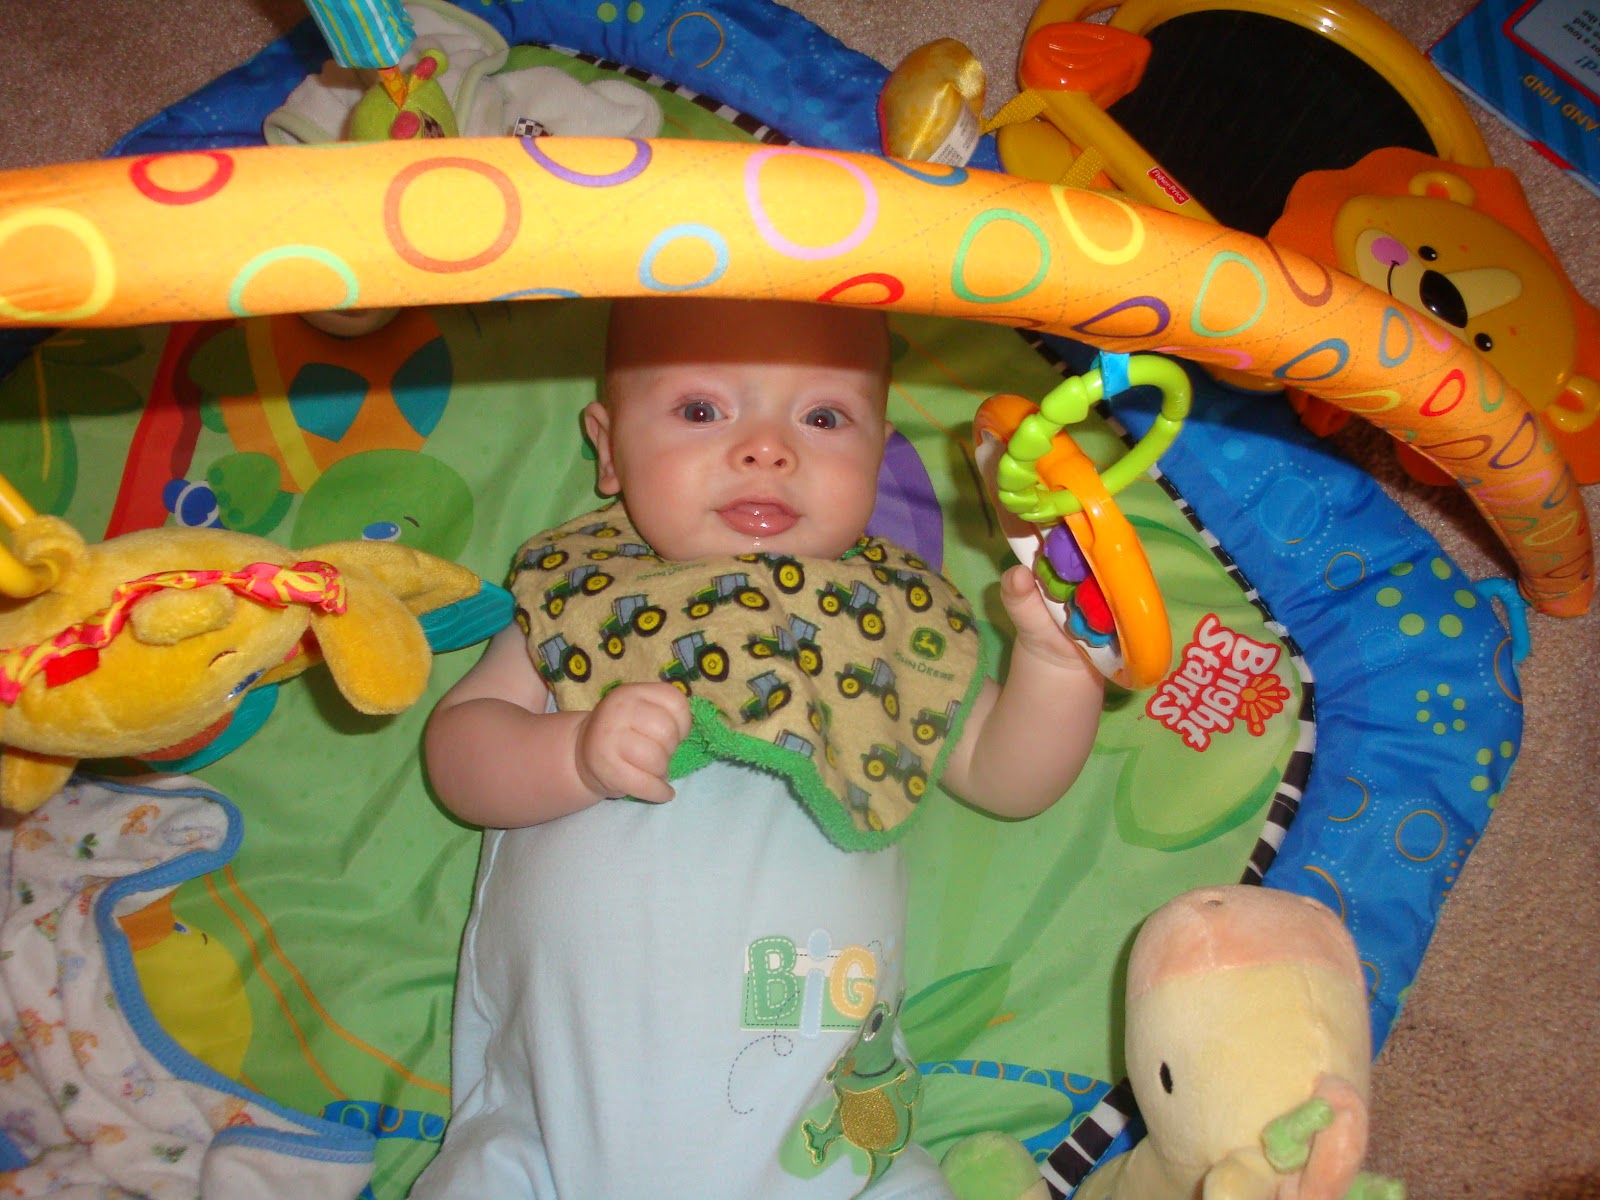
Today I thought I would share a baby set I made before we knew what our 2nd little bundle of joy was.  We live out in the country and my father in law is a farmer, so boy or girl our little one would need some John Deere. ;)


I love burp cloths made from cloth diapers, thick bibs with a snap (Velcro gets annoying), and these little ribbon blankets (which I will call lovey blankets).  And everyone little one needs each of these things or several of each.  haha It is so fun to sew for babies!


First up the burp cloths.  I know you have seen these every where but they really are great.  They are so much bigger than standard burp cloths, so absorbent, you can make them to your taste, and super easy and cheap, so what is not to love.  All you need is a pack of cloth diapers (You can get them almost anywhere Walmart, Target, craft stores, etc) and some strips of fabric that you love. 


I have made them with cotton, old cut up onesies, and flannel.  Find what you love, you could use anything.  They can be as expensive or as cheap as you want.  Ok once you have your fabric of choice then cut it 19in x 4in.  Next if it is needed serge around the sides of it or zig zag stitch if you don't have a serger.  Now if you serge it you can leave your edges the way they are or you can fold them under before you sew it down.  If you zig zag you will want to fold it under to protect your edges from raveling.  Then just pin your fabric to the middle of your cloth diaper and sew it down.  You straight stitch down both sides and whalah you have a personalized burp cloth.


Ok well that is enough for one post come back tomorrow for the post on how to make a bib out of a wash cloth.  :)  Have a great day!!

Linking to some of these wonderful parties!
           
            http://www.watchoutmartha.net/
            www.ladybug-blessings.com
            www.sugarbeecrafts.com
            www.creationsbykara.com
            www.733blog.com
            www.somedaycrafts.blogspot.com
            www.sugaranddots.com
          http://bec4-beyondthepicketfence.blogspot.com/
            www.katiesnestingspot.com
         http://www.chickenscratchny.com/
            www.shabbynest.blogspot.com
            www.kojo-designs.com
            www.oneartmama.blogspot.com